SYSTEM OPTIONS | Power User |
Release forms are assigned at the course level and can be changed (use, do not use, choose a different form) at the class level. The release form allows organizations to gather specific data on a registrant for a specific class. This information does not update and add to the student profile but will attach to the student registration. Power Users may select which information is required, and which language will be used to create multiple Release Forms.
Adding a Release Form
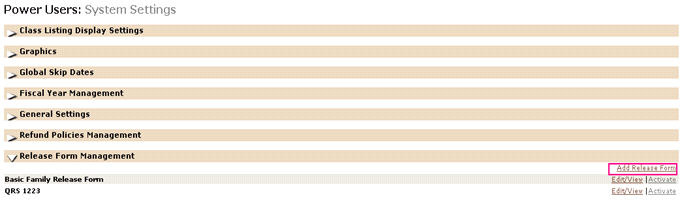
1. Select SYSTEM OPTIONS/power users/Release Form Management.
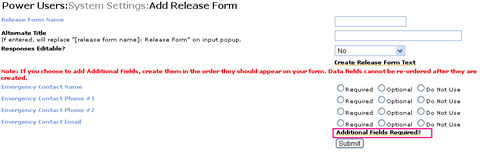
2. Click on Add Release Form link.

The default permission is No.
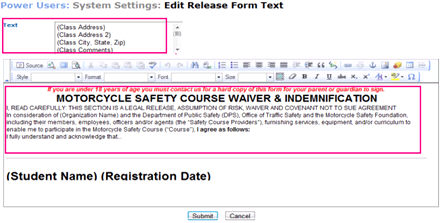
Click on Create Release Form Text link.
Choose Text – the options will auto populate class/learner data into the Release Form.
Enter applicable text (text can be copied/pasted into the editor tool).
Click Submit.
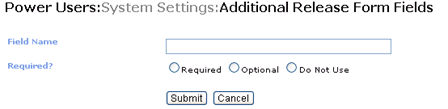
Click on Additional Fields Required? link.
Enter data Field name and designate it as Required, Optional or Do Not Use.
Click Submit. |
The Release Form will not submit until all required data fields have at least 1 character entered. Review the form and click Submit.
|
|
|
Note: While creating release form text, we recommend that you add at least student name as a Text option to ensure this displays in the form.
The Release Form fields will pre-populate from a prior collection of data for the same Release Form, whether from a prior transaction or from a prior class added into the current cart for the same student or in the case of households, another household member. The registrant must simply validate or change any of the entries to proceed. |