Reports | Class Management |
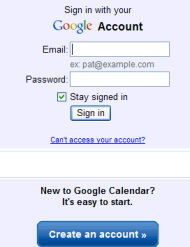
1. In order to use the Google Calendar in Lumens, you will need to have a Google Account. Navigate to http://www.google.com and click
on the “Sign In” link.
2. If you already have an account, you can log-in from this screen. If you do not have a Google Account, you can create one for free by
following the Create an account link.
3. Once you are logged into Google, search for or navigate to the Calendar link.

4. Once logged in, on the left side of the screen you should see an image as displayed below. The marked calendar (Augusoft) is the default
calendar created automatically by Google. We suggest that you do not use the default calendar for your Lumens import. You will have the
option of creating additional calendars.
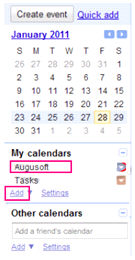
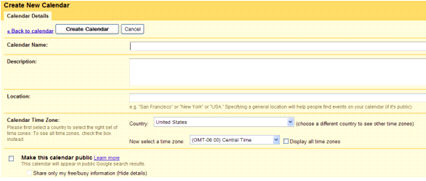
5. To create the calendar your classes will display in, click on the Add link under the My calendars section (not the Other calendars
section), to create a new calendar. You should see a screen that looks like the image displayed below.
|
6. Click on the Create Calendar button. You will receive a warning screen pop-up because you’re choosing to make the calendar public,
and Google is usually used as a personalized portal.
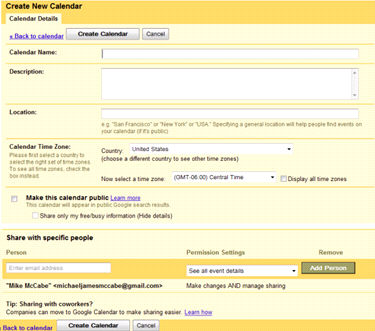

7. Click Yes.