COURSE MANAGEMENT | Catalogs |
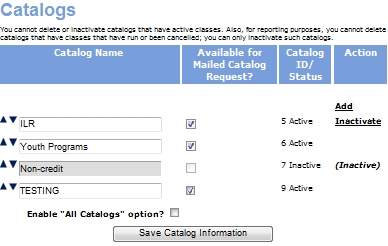
Catalog functionality provides a basic way to organize your class offerings into different catalogs, and tailor each catalog to fit a specific set of interests or group of learners. Catalog functionality allows you to assign classes into distinct groupings that students can use to filter out a set of classes. Catalogs also provide a way to further filter registration data in reports.
All Lumens users can choose which catalogs they want to view by selecting individual catalogs, or all available catalogs from the ‘Courses’ screen. Users select the catalogs they want to view by selecting checkboxes from the Show catalog(s) box on the ‘Courses’ screen. When the user has selected all the catalogs they want to view, they click the Show selected catalog(s) button to display those catalogs.
To create a new catalog:
Click COURSE MANAGEMENT, catalogs.
Click the Add action link above the list of catalogs.
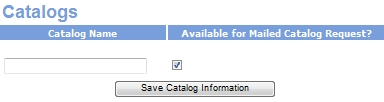
Fill in the catalog name, and select whether you want to make the catalog available for a mailed request.
Click Save Catalog Information.
The catalog will be viewable by all users on the Lumens site, provided classes have been associated with the catalog.
|
|
|
Note: Each Lumens site has a limited number of catalogs it can create and host. For this reason, it is important to note a major distinction between catalog functionality and printed catalogs. Lumens catalog functionality is meant only to provide a topical grouping, and not as a calendar based grouping. Note: When a user makes changes in an edit page, Lumens will require that the page be updated with the new changes before another user may make changes to the same page. If another user accesses the edit page before the first user has submitted changes, Lumens will not allows the second user's changes to be submitted until the page is refreshed to view the first user's changes. |