COURSE MGMT | Courses/Classes
|
Add Class
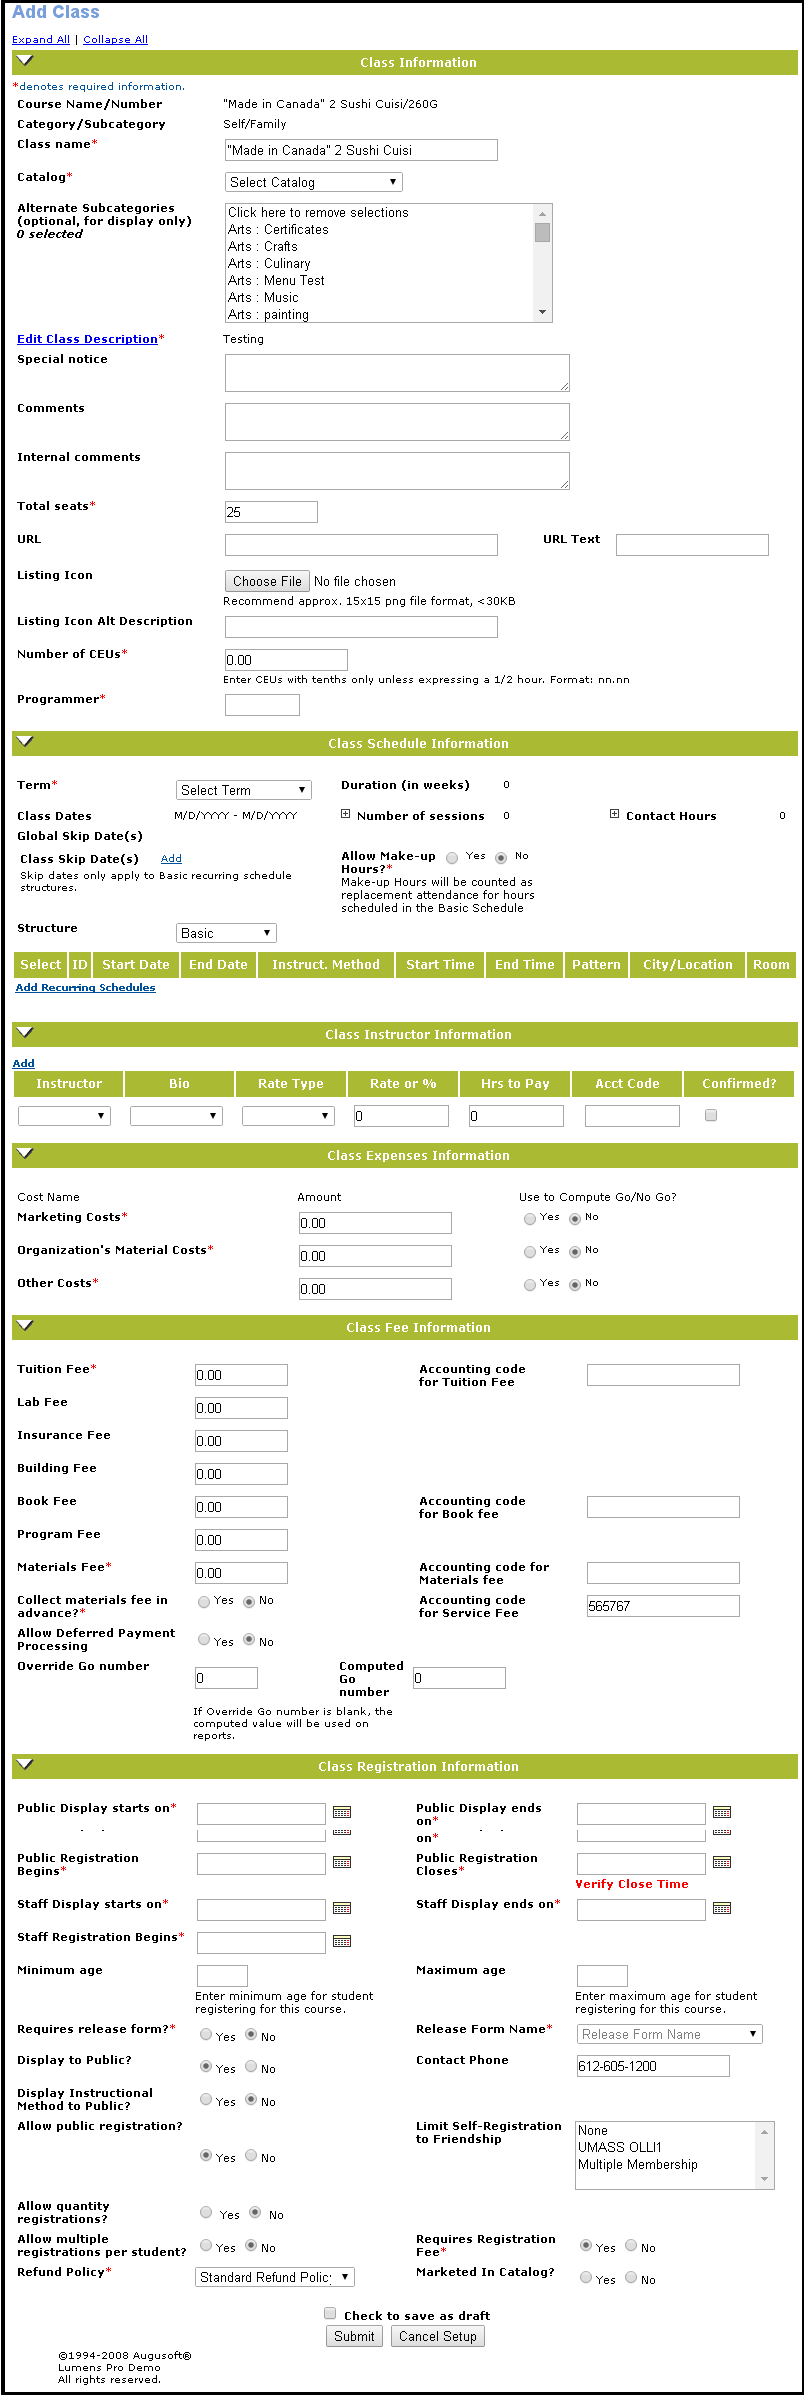
Classes and courses share many attributes. When you add a class, you will notice that many fields contain the default values that you set when you created the course. You will need more specific information in order to create or edit a class, though. Classes specify important details about courses: where they are held, when they are held and who is teaching them. Only classes have dates, instructors, and locations. Several classes can be associated with a single course. Courses are valid for many terms, but classes must be set to run within a specific term.
|

|
|
Note:
-
When a user makes changes in an edit page, The page has to be updated with the new changes before another user may make changes to the same page. If another user accesses the edit page before the first user has submitted changes, Lumens will not allow the second user's changes to be submitted until the page is refreshed to view the first user's changes.
|
|
|
|
Note:
-
All the existing class schedules would be converted in to basic recurring schedules.
-
Approved Training Type field would be displayed whenever Use Grant Management is assigned Yes in the Feature Configuration screen.
|
|
|
|
|
Screen Steps
-
Click Course Management > Courses/Classes.
-
Select a Course Name.
-
Select the 'Add' option denoted below the Action column.
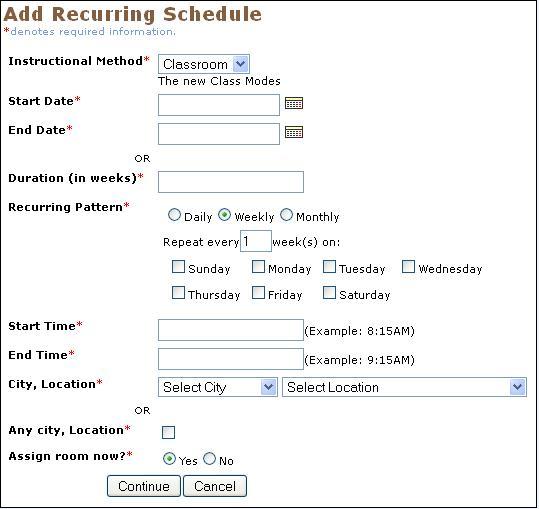
Click the Add Recurring Schedule link.
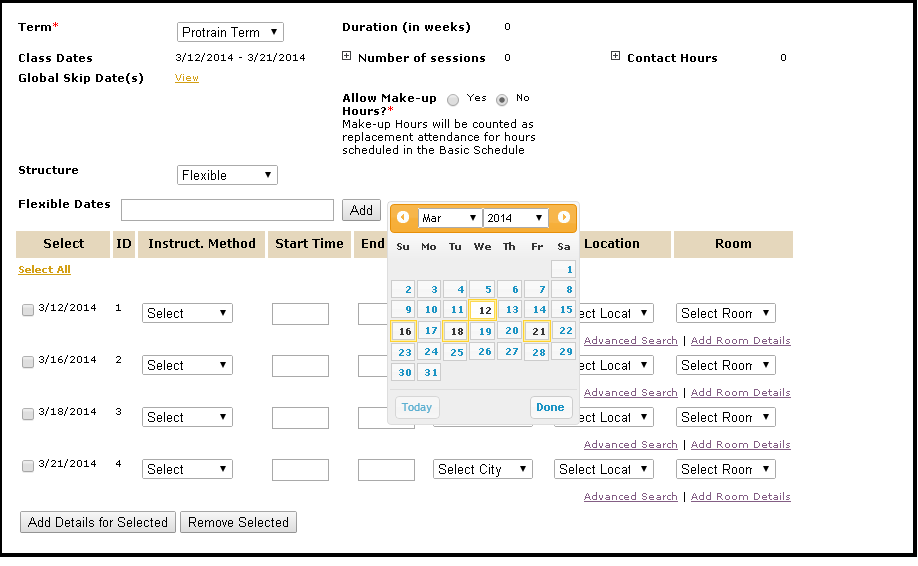
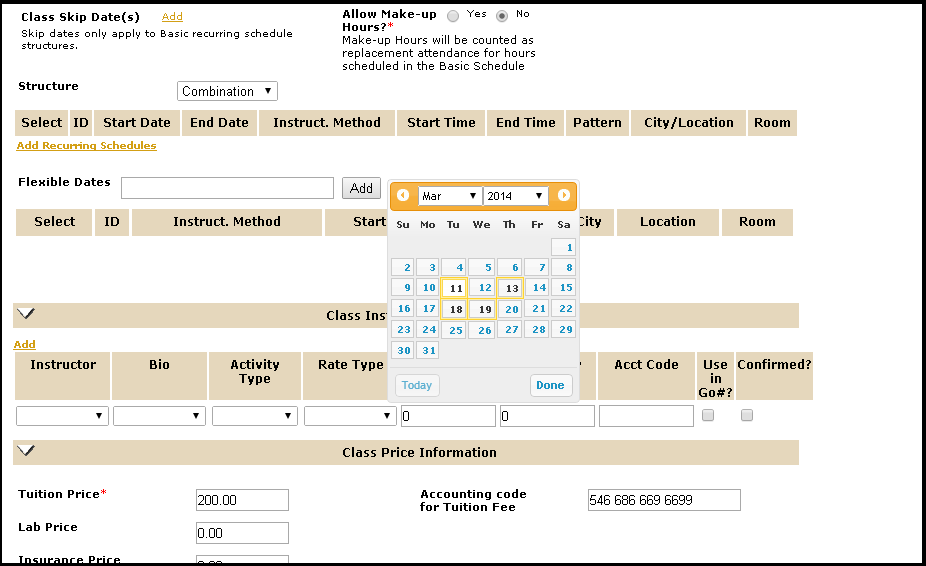
Select Structure = Flexible to create schedules with individual dates, instead of a recurring pattern. A schedule will be created for each ‘Flexible date’ added via the calendar graphic or the text box.
Select Structure = Combination to create a combination of both basic recurring and flexible schedules for the class.
|
|
|
Note:
-
Each section header bar can be individually expanded or collapsed.
-
Class Name and Total Seats can be edited within the Class Information section itself.
-
The Term field can also be edited.
|
|
|
|
|
Screen Steps
-
The class name is automatically entered in the Class Name field with the course name, but you can change it if you wish. The class name is used on rosters and confirmations; the class is listed under the course name in the catalog.
-
Select an active term from the Term drop-down list.
-
The Global Skip Dates field will display if a Power User has specified any dates for the selected term. If no Global Skip Dates have been set up within the term, then this field will not display.
-
Enter a date in the Start date field according to the mm/dd/yyyy format or click the Calendar icon to select a date. This date must be within the boundaries of the term.
-
Enter a number in the Total seats field.
-
Enter the number of weeks the class will last in the Duration (in weeks) field.
-
Select an item from the City, Location drop-down lists or check Any city, location to create criteria in searching for a room to assign to the class.
-
Select Yes or No for the Assign room now? item. If you choose Yes, you will be taken to a separate room assignment screen.
-
Click the Add Class Skip Date link.
-
Enter start and end times for the class for each day of the week in the Basic Schedule section. The top row is for start times; the bottom is for end times. The start date must agree with the day of the week specified in this section. You can create class schedules which meet multiple days and multiple times during the week. The class schedule is displayed in the online class catalog and the catalog extract.
|
|
-
Select Yes or No for the Confirmed with Location item.
-
Click the Add link next to the Class Instructor Information heading to add multiple instructors to the class.
-
Select an instructor from the Instructor drop-down list.
-
Select a bio from the Bio drop-down list.
-
Select a rate from the Rate type drop-down list and make an entry in the Rate or percentage field. These fields determine the type and amount of payments due an instructor for teaching a class. You can pay an instructor a flat fee, or a percentage of revenue.
-
Enter an amount in the Tuition Fee field. This defines the base fee for the class.
-
Enter an accounting code in the Accounting Code for Class Cost field. The default amount is the value set at the Add Course screen for the parent course. Accounting Codes fields define accounting codes at the class level for each fee that an accounting code is supplied for. Accounting codes are used to track different fee types for financial reports. The Accounting Codes fields take their default values from the values on the Course add/edit screen. These include Lab, Insurance, Building, Book, Materials and Service fees and accounting codes.
-
Select Yes or No for the Collect materials fee in advance? item. If this field is set to Yes, materials fees are collected in advance, through the registration process.
-
If Yes has been selected for Allow Deferred Payment? on the Feature Configuration screen, the Allow Deferred Payment Processing field will display. Selecting Yes will activate a payment method in the shopping cart that allows a staff administrator to defer a payment during registration. Deferred payments are recorded in a financial report called the Deferred Payment Activity.
-
The Computed Go Number reflects the number of student registrations required to cover the instructor’s charges. Go Number is automatically set to 1 when you choose a rate instead of a flat fee. The Override Go Number can be entered to reflect your own calculations. The Go/No Go Report will use the Override Go Number if it is entered. The Go Number fields do not predict profitability of a class, they merely functions as guides for canceling or confirming a class.
-
Three schedule structures. They are;
-
-
Basic
-
Flexible
-
Combination
|
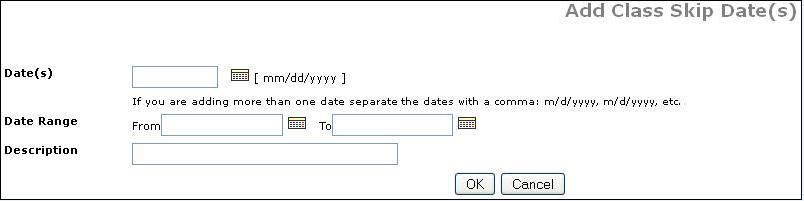
Adding Class Skip Dates
-
Click the Add Class Skip Date link on the Adding a Class Step 1.
-
Enter a date in the Date field according to the mm/dd/yyyy format or click the Calendar icon to select a date.
-
Enter a description in the Skip Date Description field.
-
Click Submit.
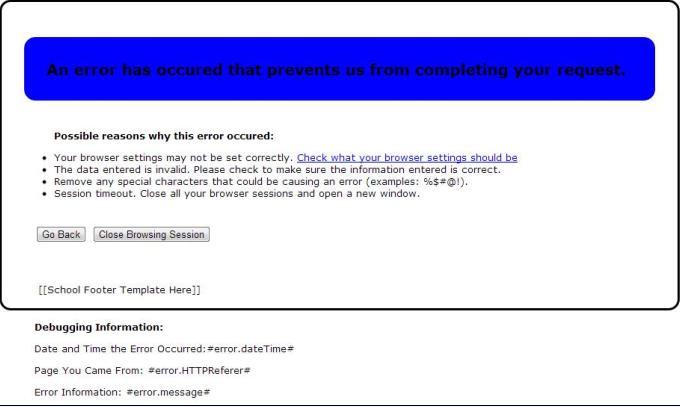
An Error handling page would be displayed whenever an unexpected error occurs up on clicking the Submit button.