
CONTRACT TRAINING | Proposals |
Once the Document Editor is installed, you will be able to create all your proposal documents. The concept in this program is creating a template for your proposal.
In the Proposal Management screen, click Create Default Templates.
In the File Name text box, create a filename.
Once a document has been created, click the Save as Template button.
The purpose of creating documents in Create Default Template is to create a stand alone template that will not be linked to any other document. This is why you would want to use the Create default template rather than create new documents in the Proposal Document mode. In the Create default template mode only the follow buttons will be available to you: Save as Template, Delete, and New Document. These are only available because this program is set to do certain functions and that is to allow you to create and save a clean, unincumbered template.
|
The show and hide saved documents is a toggle link that allows you to see all the templates.
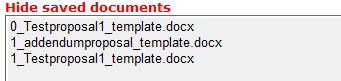
Stores all saved templates. This is an area where all proposal templates are stored and can be selected from here and opened.
0 = Original templates
# = (another number) Template create from another document.
This process can help expedite the proposal and contract process and save time from redundant tasks. Most users have a proposal and contract style already established and most likely it is in a Word format. You will be able to copy and paste portions of the text that usually do not change in the proposals/contracts. Then you will apply the Merge Fields feature that will customize each proposal/contract such as price, type of service, venue, etc. You will usually create a proposal first with the understanding that if accepted, it turns into a legally binding contract.
The best place to create a document is in Create Default Templates. Each new template should be created in Create Default Templates because it ensures a stand-alone template without links to other documents.
Create document template by either copying and pasting from existing MS Word Files or by typing text from scratch.
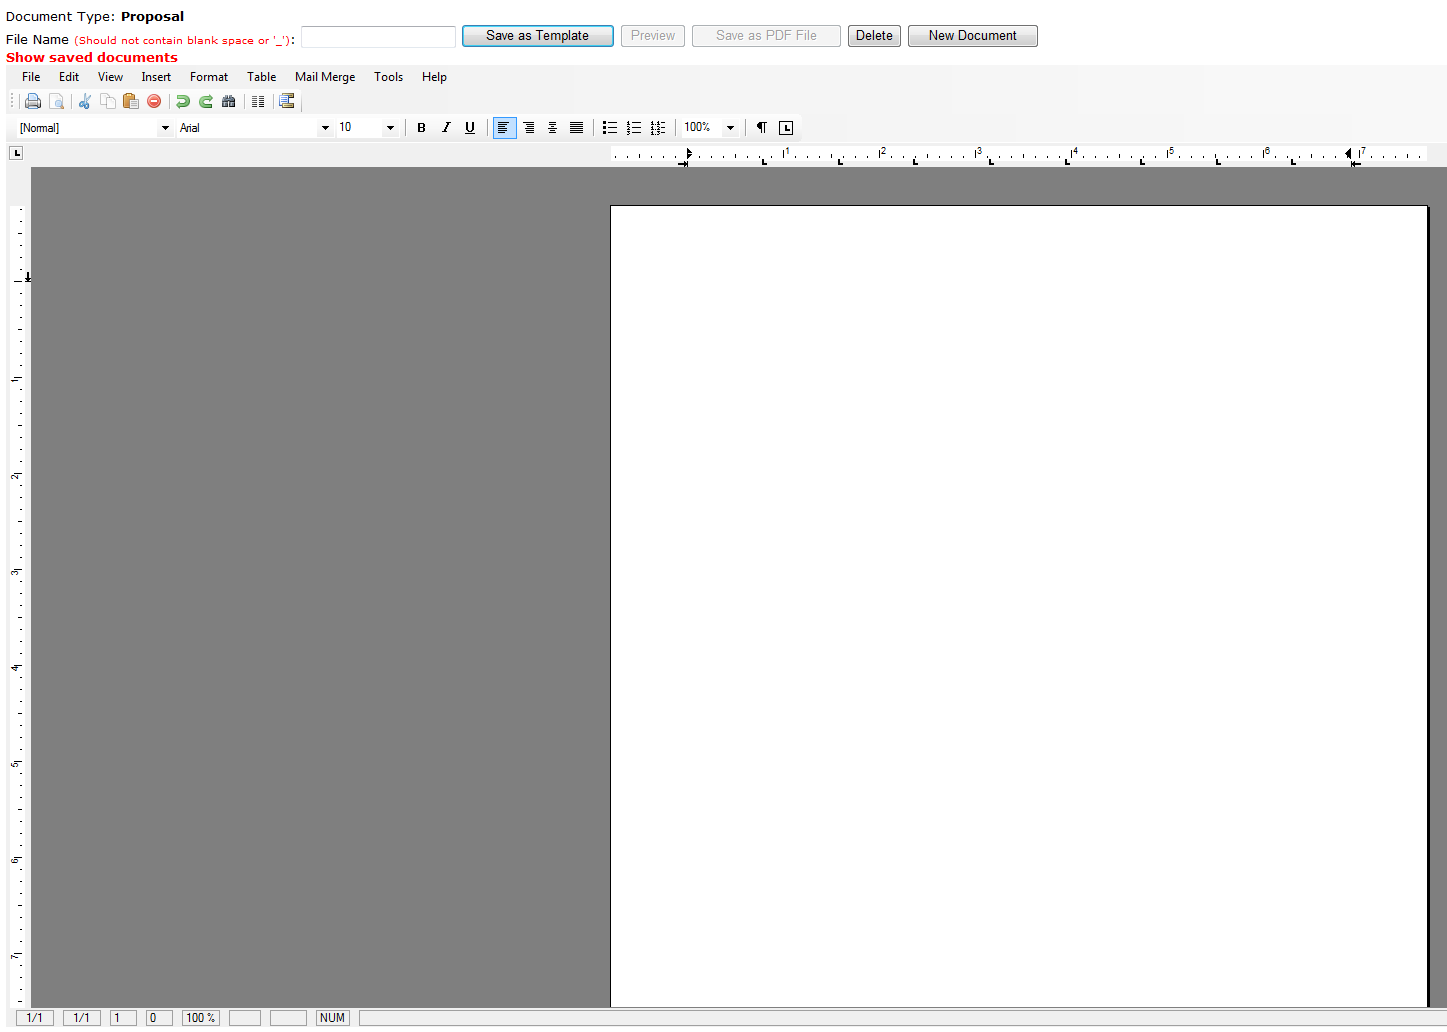
Click on Contract Training, Proposals, and then Create Default Templates.
You will be working on a screen similar to the one below.
Retrieve a former proposal document.
Select the text and copy.
Open Lumens program and open Create Default Templates.
Click Edit, Paste.
Click Save as Template.
The document has to be saved, closed, and reopened prior to merging fields.
(Pretend this is the information you entered)
Now you are ready to use the Mail Merge feature.
|
March 28, 2010 Kathleen Brady KBR Design 26 Peggy Lane Portsmouth, RI 56789
RE: Building Tools for Companies
Dear Kathleen,
This is a proposal to offer enrichment classes to the staff at KBR DESIGN. The leaning outcomes are: Proposed Classes are:
Thank you for the opportunity to submit this proposal. Learning Connections, Inc. 201 Wayland Avenue Providence, RI 98765 FAX 467-486-3245
Thank you, MarySue Linden |
Click on Mail Merge.
Click on Insert Merge Fields.
Replace Data
Replace Kathleen Brady with <<ContactName>>
Replace KBR Design with <<CompanyName>>
Replace 26 Peggy Lane with <<address1>>
Replace Portsmouth with <<City>> then enter a comma and a space.
Replace RI with <<StateOrProvince>> then add two spaces.
Replace 56789 with <<PostalCode>>
Place <<Proposal Name>> after RE:
Place <<Learning outcomes>> after The learning outcomes are:
Place <<ClassTitle>> add spaces <<ClassContractPrice>> after Proposed Classes are:.
Click Save as Template.
The Merge Block feature enables fields that may contain multiple values to display all values for that field. For example, there may be multiple classes that are being proposed in a single proposal. Therefore, there would be multiple values for all fields associated with the class records. (i.e. class title, class cost, class price) The feature will always be available where ever the Document Editor can be opened. The first step in applying this feature is to create a table. Though tables can be added for other purposes besides merge block, the details below are applicable only to the merge block feature.
From the Document Editor:
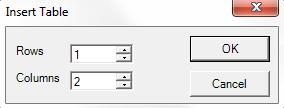
Click Table, Insert, Table and select one (1) row and however many columns your design requires.
The reason you want to choose one row verses two or more is because it will auto-populate according to the information.
The computer will do the work for you.
Once you have the table, you will want to place a field value in each cell.
Click Mail Merge and click on the merge field titles.
You can choose more than one field in a cell and increase the size of the cell by using the enter key on the
keyboard.
![]()
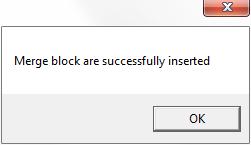
Select the whole table or all the contents in the table.
Click Mail Merge
You will get a pop-up dialog box when successful. There will be no other indicators that will tell you that the task has been completed.
To make changes to the table in Document Editor.
Select the template from the Show Saved Templates.
Click Mail Merge, Edit Merge Block.
Select merge field you want to delete.
Click Mail Merge in the menubar, and click Remove Merge Field.
Underlying codes may exist if the contents in the cell is selected and deleted which may cause problems.