INSTRUCTORS | instructor contracts |
|
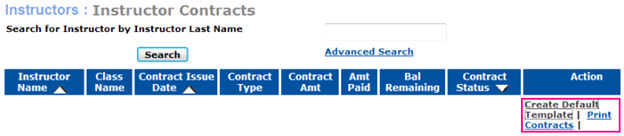
1. Click INSTRUCTORS/instructor contracts.
2. The Instructor Contracts screen allows you to Create Default Template or Print Contracts.
Please note that both of these links will open a new window that will display the Document Editor as shown below.
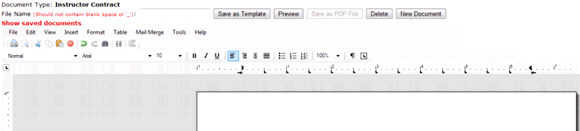
3. The Create Default Templates screen allows you to create document templates by copying and pasting from existing MS Word files or
by building the document from scratch. The Document Editor ensures that the standalone template will be created without links to other
documents.

4. Copy and paste the text out of your word processing program (i.e. MS Word), and into the Instructor Contract template. (Please note the
blank lines in this example. We will be selecting the corresponding Merge Fields to take the place of these blank lines).
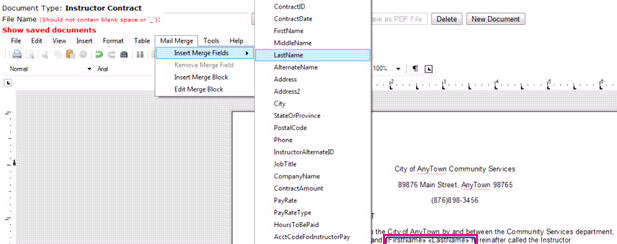
5. Backspace over any blank lines or text to be replaced) and position your cursor. Select the Mail Merge pull-down menu. Select Insert
Merge Fields from the sub-menu. Select the appropriate items (in this case, First Name and Last Name). Continue this process for the
corresponding fields within your template. You should see your selections populating directly onto the template.
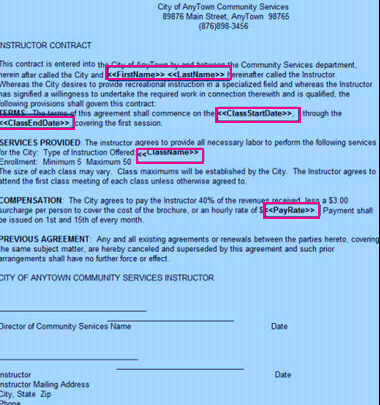
6. When you finish inserting the appropriate Merge Fields, your document should look similar to the example document listed above. (Please
note that the blank lines have now been replaced with the Merge Field dynamic text.)
7. You can build your templates directly within the system, instead of copy/pasting from an external program.
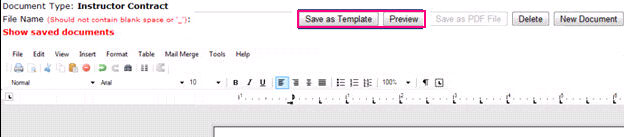
8. Make sure to enter a File Name and then click the Save as Template button. The Save as PDF button is dimmed as you have to go to
Print Contracts to Save as PDF. You can click the Preview button to see the results of your work, however this function does not allow
you to save. Preview allows you to test your template with the merged data.
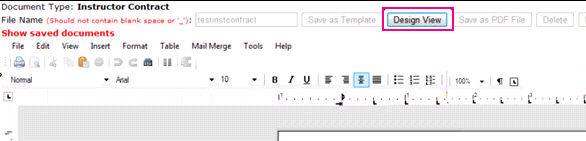
9. Click on the Design View button to return to the editable screen.
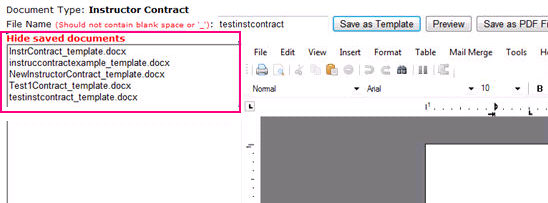
10. The Document Editor displays all of your Saved Documents in the area to the left of your template. You can select any of your previously
saved documents from this list. You can create multiple templates for different types of contracts.
|
|
|
Note: If you pull up an instructor that shows zero dollars and says not approved as shown below, this means the preparation step was missed and you need to go to Instructor Profiles.
|
